In today's world of online ads, it's important to share pixels between multiple different ad accounts to scale and manage your campaigns well. However, sharing pixels through business manager can be risky.
So, we'll show you how to share pixels without giving away business manager access. We'll use a Chrome extension to make it easier and safer.
What is Facebook Pixels
A Facebook pixel is a piece of code that you place on your website. It allows you to track conversions from Facebook ads, optimize ads, build targeted audiences for future ads, and remarket to people who have already taken some kind of action on your website.
Here are some key things the Facebook pixel enables:
- Conversion Tracking The main use of the pixel is to track when a Facebook user takes an action on your website after viewing or clicking one of your Facebook ads. This could be making a purchase, adding something to their cart, completing a sign up form, etc.
- Audience Building The pixel also collects data that Facebook uses to build advertising audiences for your future campaigns. For example, you can create an audience of people who visited specific pages on your site to remarket to them later.
- Analytics and Insights Facebook provides analytics data from the pixel, allowing you to see aggregate details about traffic, conversions and behaviors of people who interact with your website.
- Dynamic Ads Using the pixel data, you can create highly customized Facebook dynamic ad campaigns that retarget visitors with relevant products based on their previous engagement with your website.
- Conversion Optimization Facebook can automatically optimize your ad delivery to serve ads to users most likely to take the desired conversion action you define based on the pixel data.
Now you can understand what Facebook pixel is, so let's explore how you can share pixels across ad accounts using Chrome extension.
Share Pixels Across Ad Accounts Using a Chrome Extension
First, make sure you're logged into your business manager in Google Chrome. We'll use a special Chrome extension to help us share pixels. To access the tool, you can click here. Just click on the link and open the chrome web store, then click "Add to Chrome"
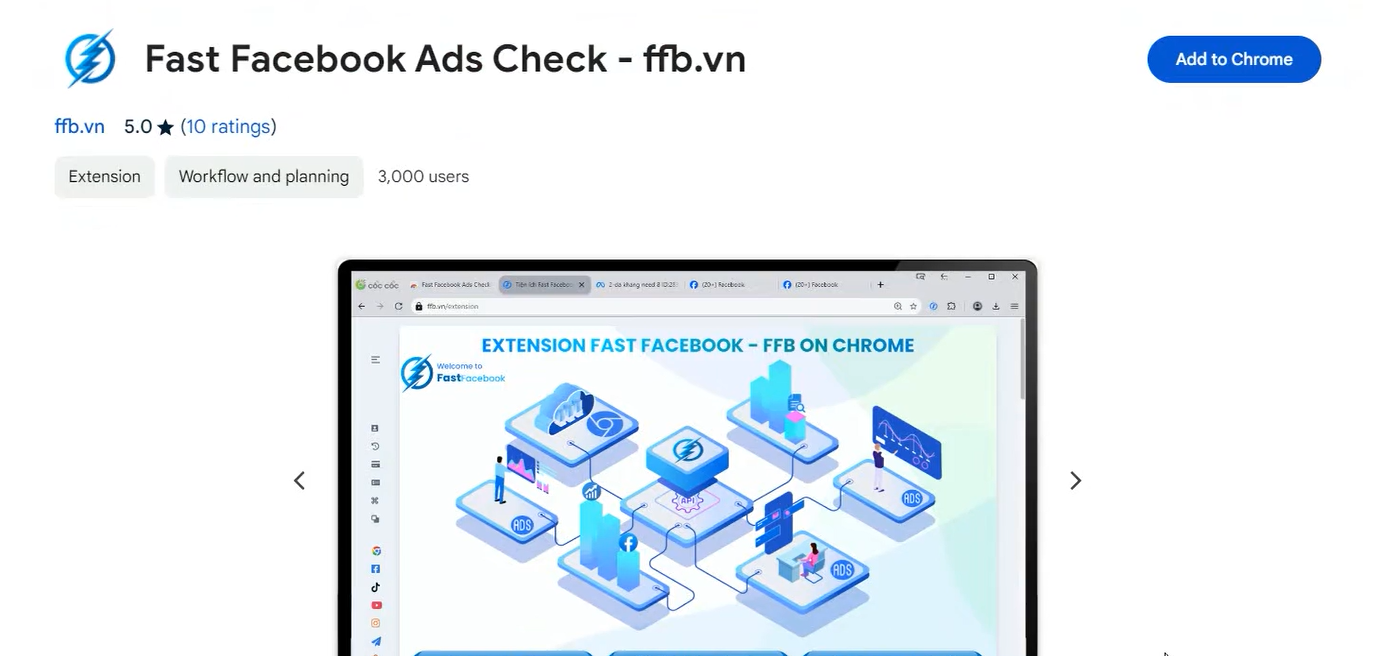
and proceed with "Add Extension". After it's installed, remember to pin it so you can find it easily later.
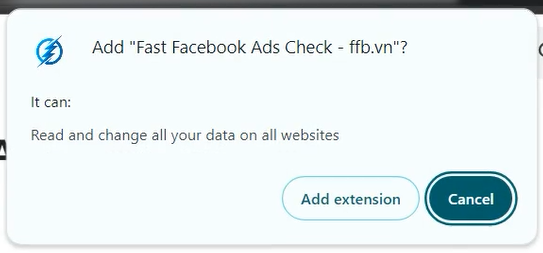
Important Details
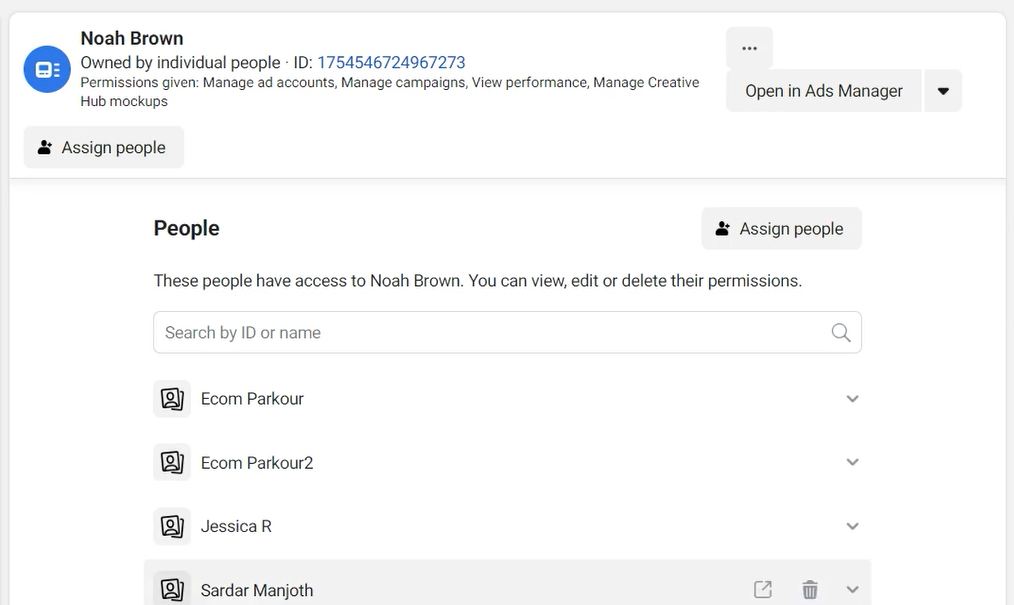
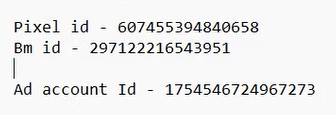
Before we start, we need to gather some important information. Copy the Pixel ID and the business manager Id where the pixel is located.
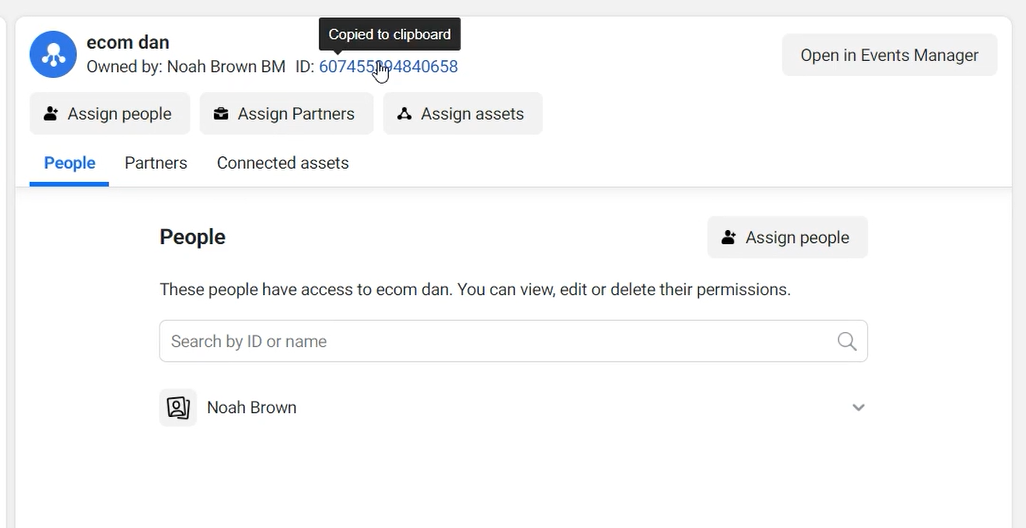
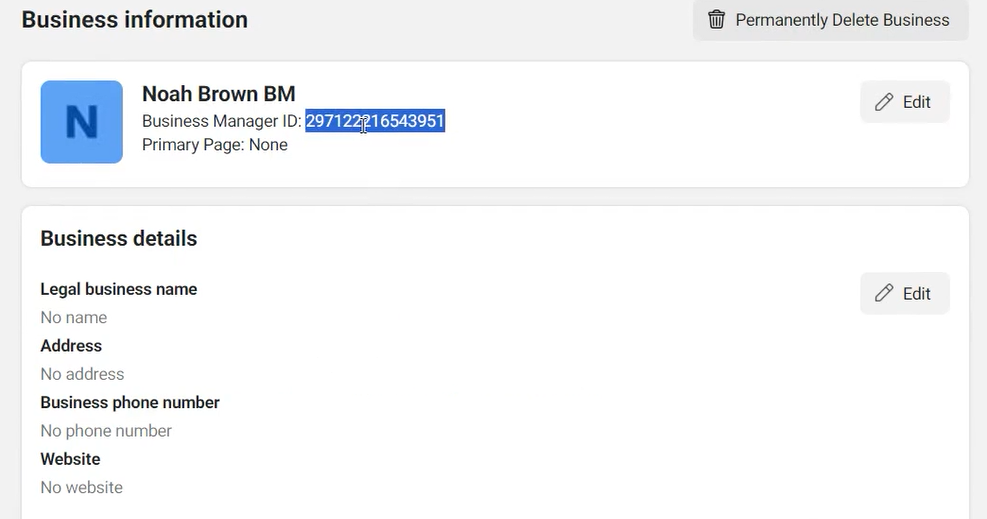
Save these IDs in a safe place, like Notepad. Also, get the ID for the ad account where you want to share the pixel and save that too.
Sharing the Pixel
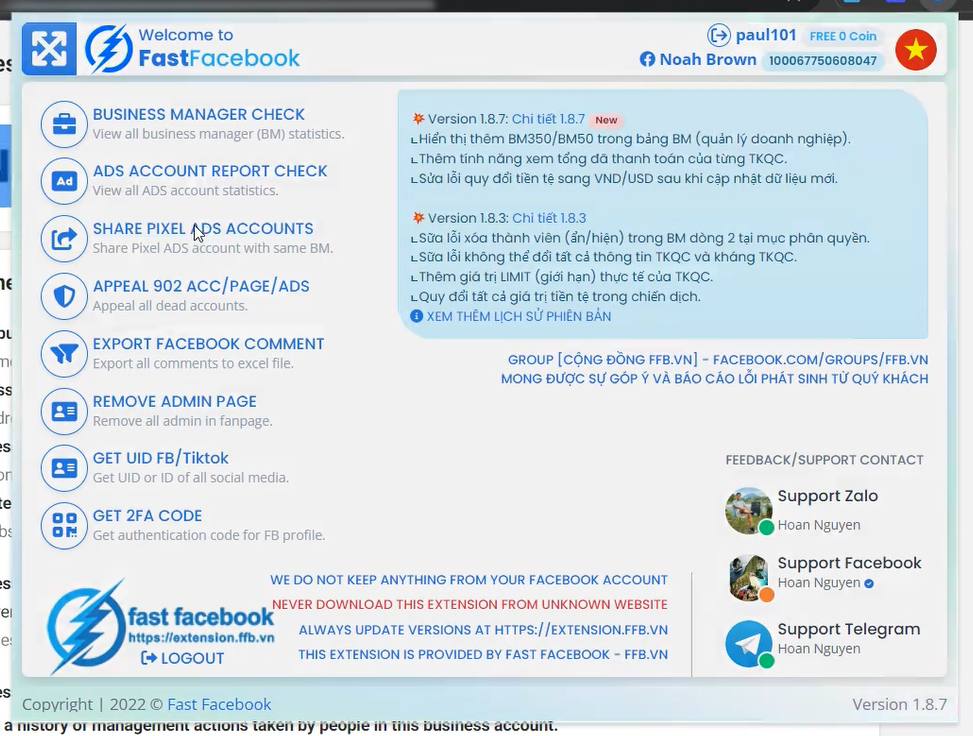
Next, go to the Chrome browser where you added the extension. Click on the extension icon and choose "Share Pixel Ads Account".
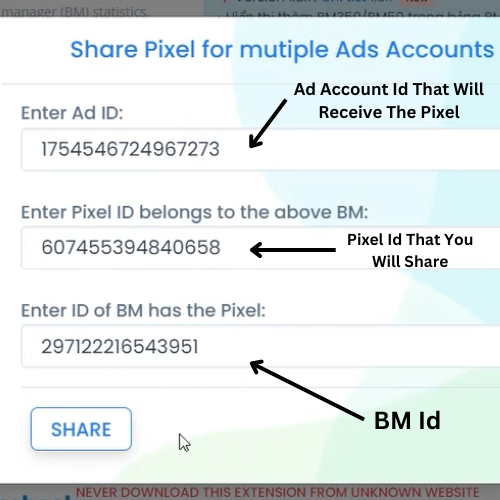
You'll need to enter the ad account ID, pixel ID, and business manager ID. Make sure you type these details correctly, then click "Share".
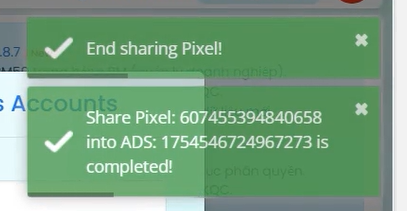
Wait for the process to finish, and you'll get a message saying the pixel has been successfully shared.
Verification
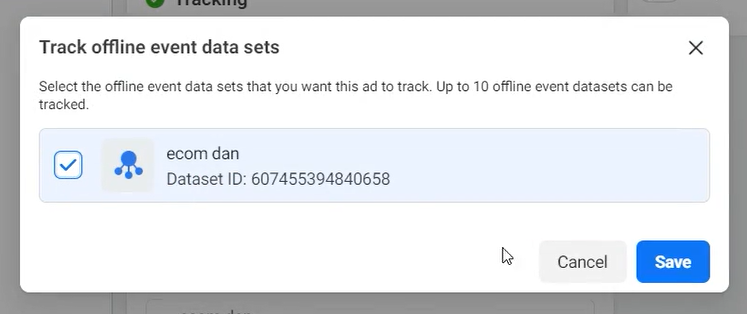
To ensure that your pixel is shared successfully, go to your ad account and create a dummy campaign with "Traffic" as the goal. Look for the pixel under offline events and website events in the ads section. If you see the pixel there, it means it's been shared successfully.
Repeat
You can repeat this process to share your pixel with more ad accounts if needed. This helps you manage your campaigns smoothly. Remember, the Chrome extension we mentioned isn't made or supported by our organization.
Conclusion
Sharing pixels between ad accounts without risking security is crucial for good digital advertising. Using the Chrome extension makes it easier while keeping your business manager info safe. We hope this guide helps you with your advertising.
If you liked this article, consider joining our Telegram and Discord groups for more helpful tips. Thanks for reading!


.svg)
.svg)
.svg)
.svg)


